
Gypsum blocks
In my previous post I was looking into building my own gypsum block soil moisture sensors. All the component parts have now arrived, and so I’ve now produced three sensors. In this post I’ll explain how I made them, show some preliminary data, and talk a bit about how much they cost.
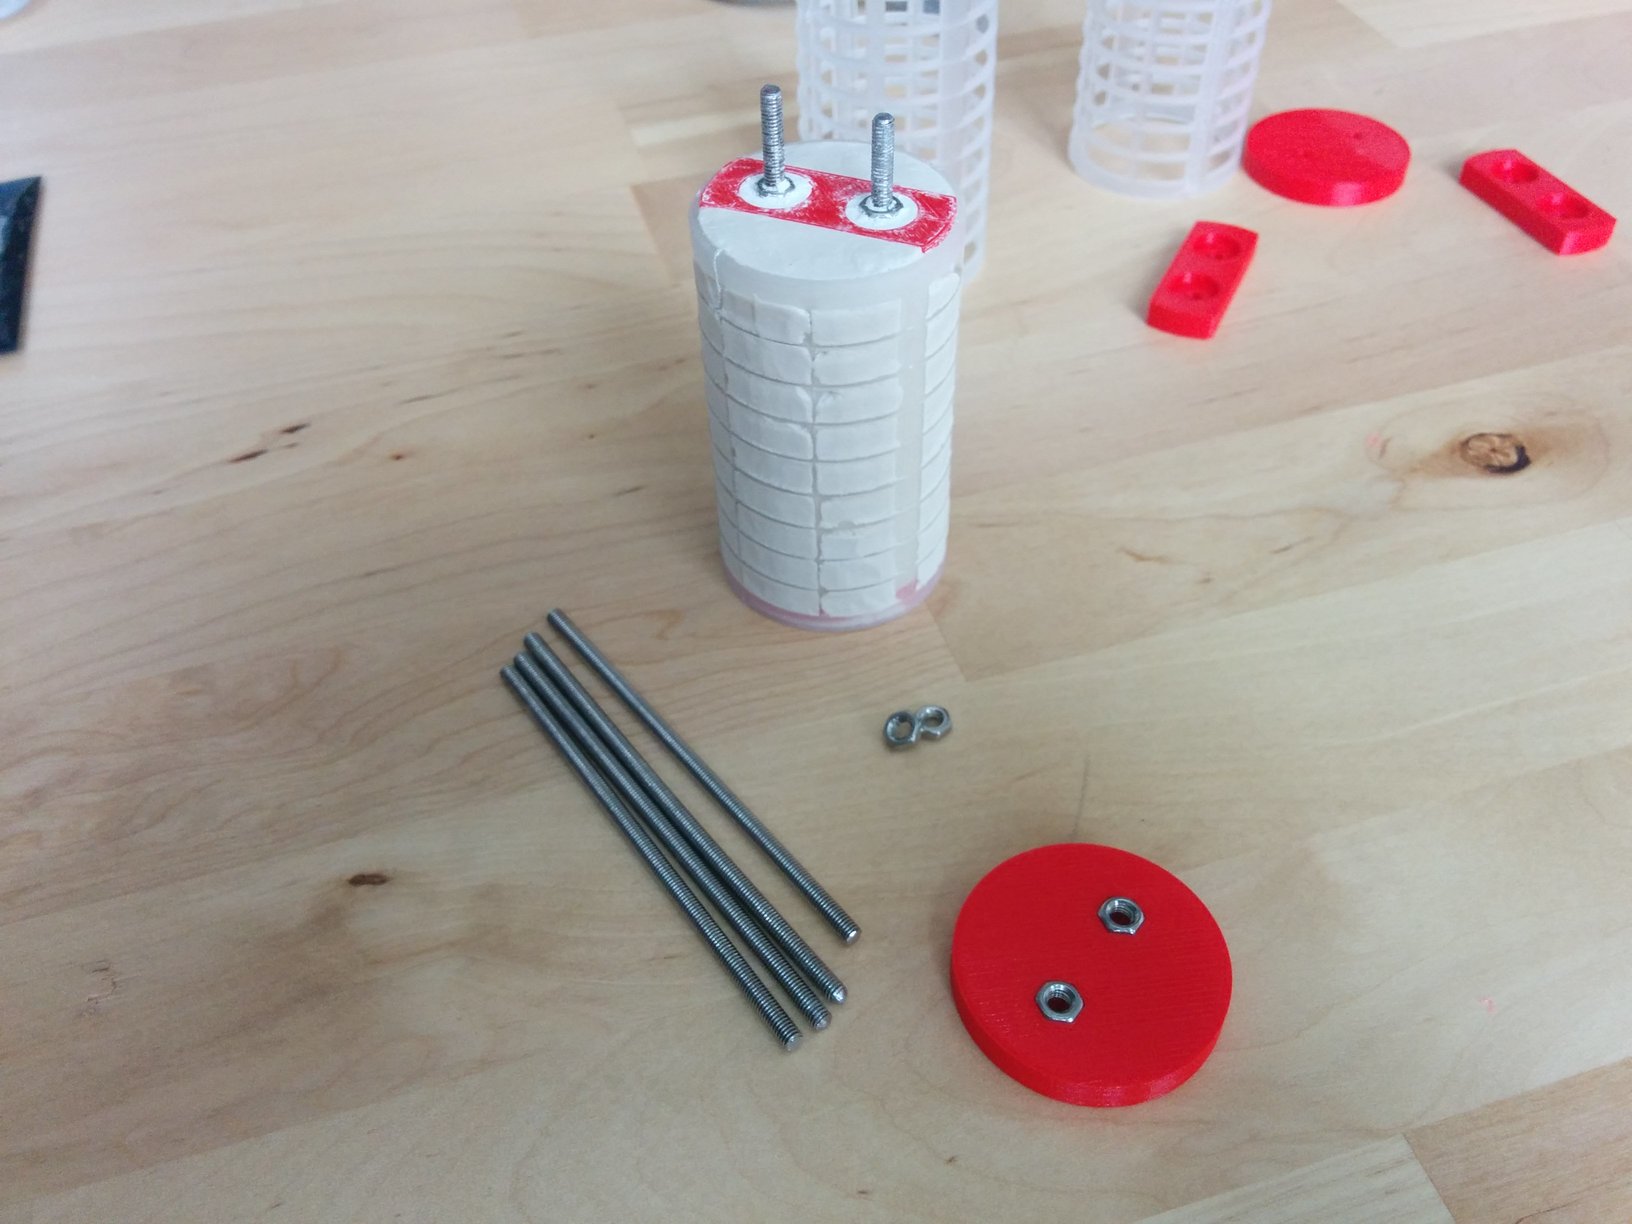
I’m using 3 mm A3 stainless steel studding to form the electrodes across which the arduino will measure resistance. Once this arrived, I cut two rods 75 mm in length, and spaced the plastic 3d printed components at a slightly shorter distance than the height of the hair curlers.
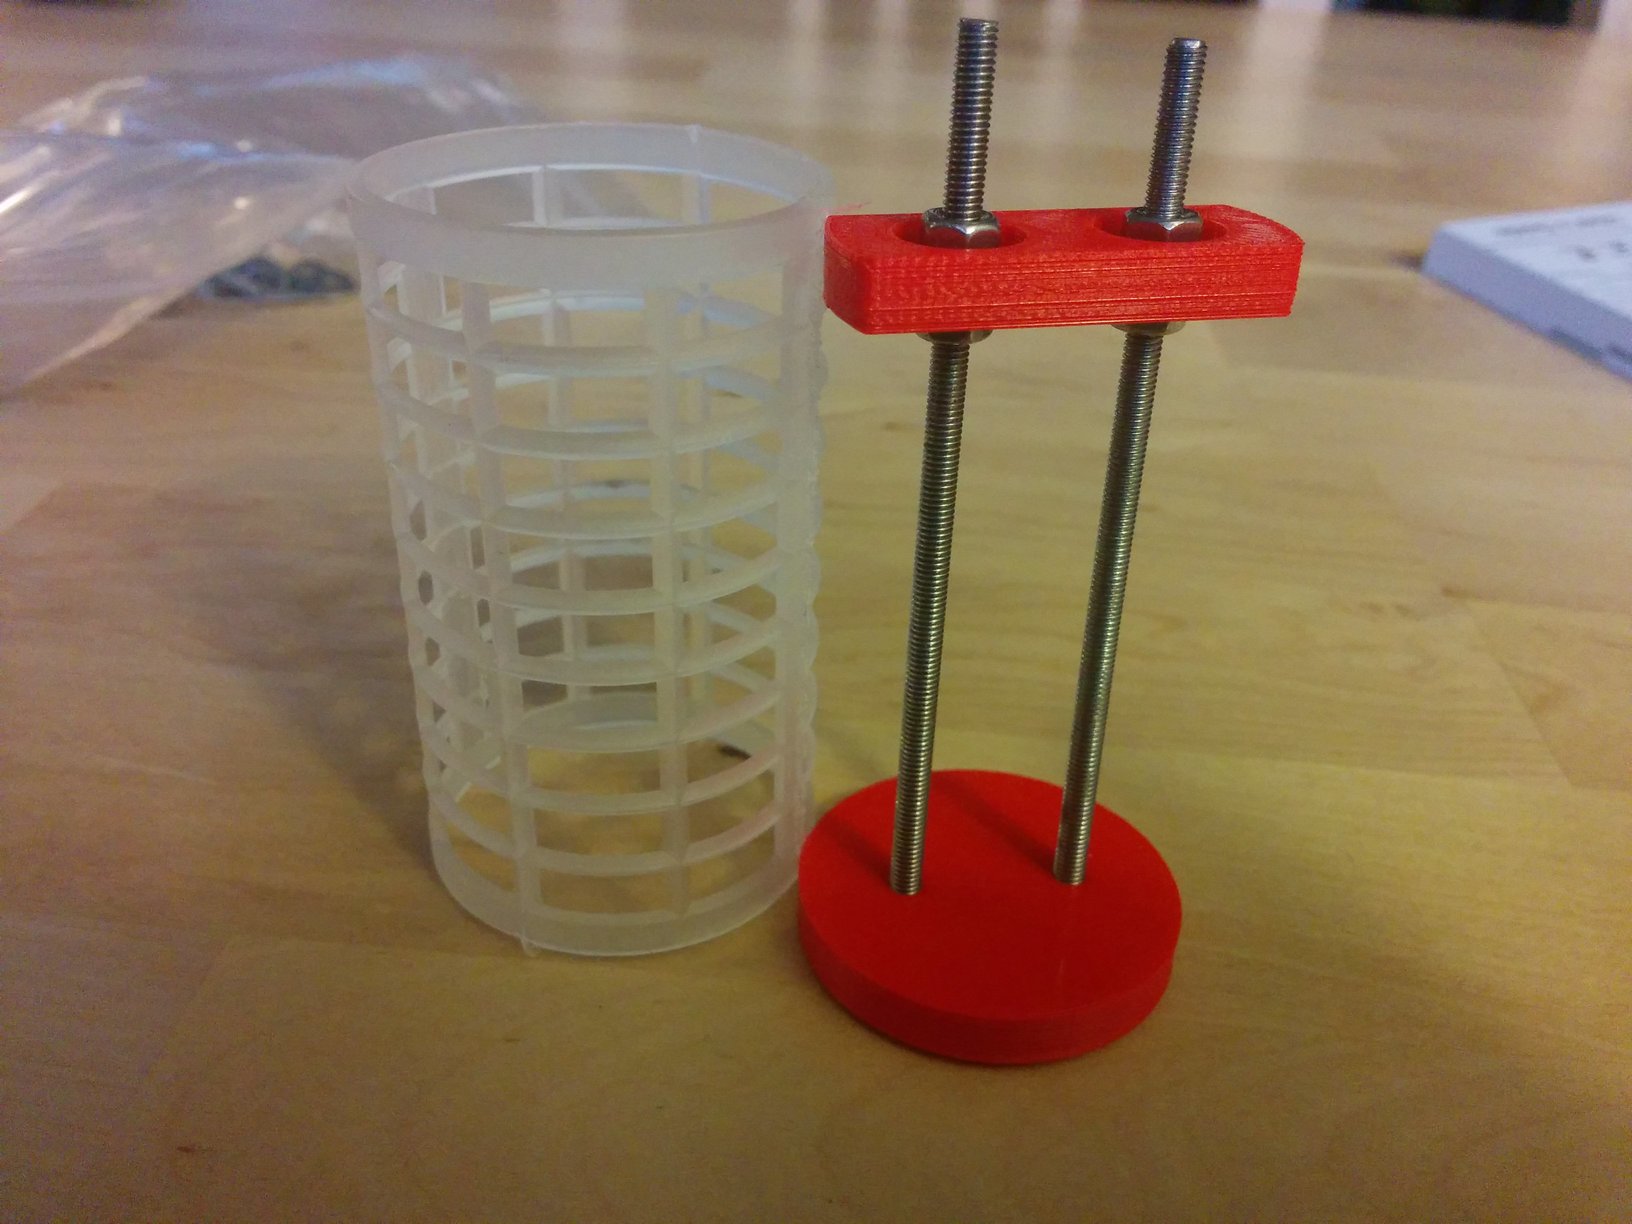
Assembled 3d printed components and stainless steel studding next to a 35 mm hair curler.
Once assembled, I then wrapped the whole contraption in silver foil, leaving a gap at the top to allow me to fill it with plaster of Paris.

Starting to cast the sensor.
Pay attention to the manufacturers recommendations on the mix for the plaster of Paris. I used 1 part water to 1.5 parts plaster of Paris. This gives a nice free flowing mix, but use it quickly, as it will soon thicken, and the risk of air bubbles being trapped in a the viscosity is greater.
The first time I did this I just let the plaster pour out over the top. Once this had hardened up a little, I then removed the excess with a knife.
Having removed the excess you are left with a nice looking block. It takes a good few hours for plaster to fully harden, but within an hour you can start to pick the thing up and manipulate it, and remove the excess plaster.
A completed sensor having been cleaned up, and allowed to dry out.
Temperature dependence
So somewhere about now, having cast my first sensor, I had a conversation with a colleague at work who mentioned that he was undertaking a project on the relationship between resistivity and soil moisture content. The relationship was strictly non-linear he mentioned, which is not a huge surprise, but he also mentioned that resistance is very strongly correlated to temperature.
So, in order to get a handle on this, I decided to try to embed a temperature sensor within the new sensors I was producing. Actually, I decided to go the whole hog and embed two temperature sensors into each gypsum block. I have some ds18b20 sensors, which are great little digital temperature sensors that work on the 1-wire system. I’m no expert here - just Google it, there are plenty of tutorials for these sensors.
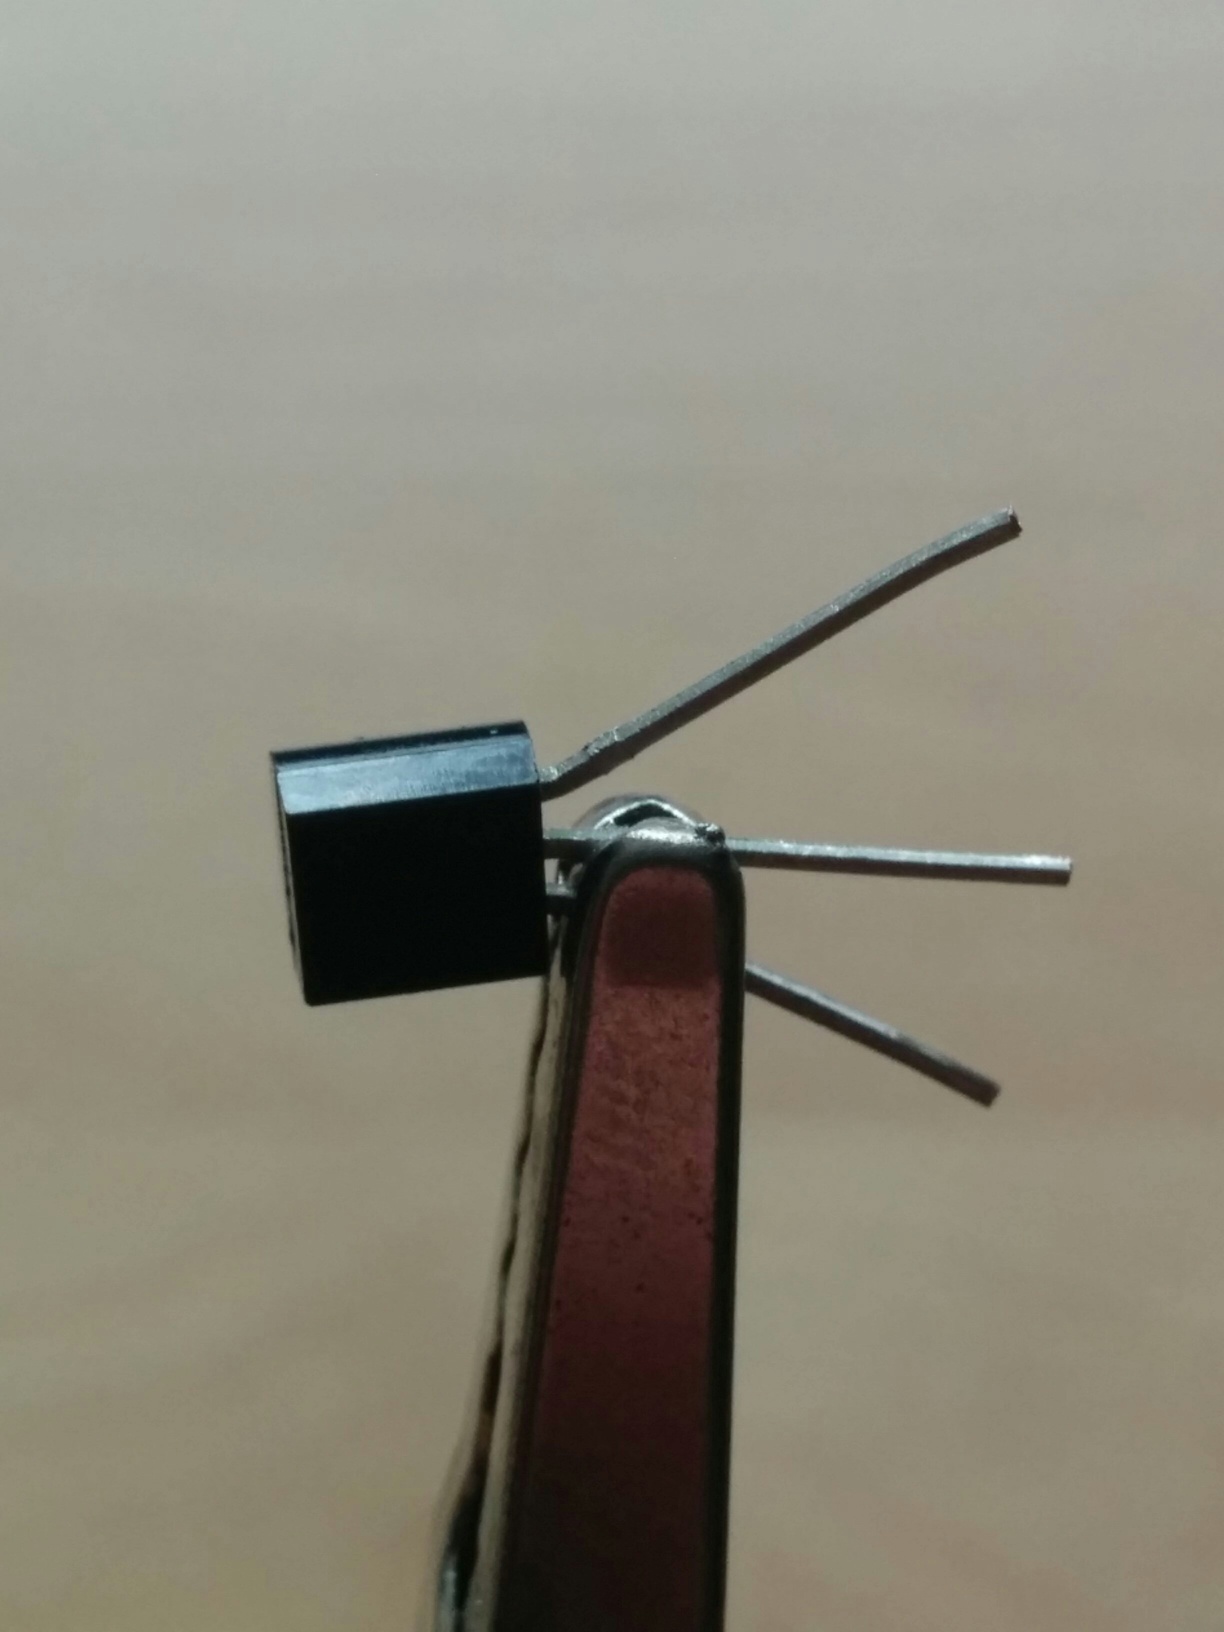
The ds18b20, a versatile three legged digital onewire temperature sensor. Each unit costs about £1.
The first things is to make sure that the ds18b20s are completely waterproof. You can buy stainless steel cased ds18b20s, but they tend to be in the region of a few pounds, when a single un-shielded sensor should cost around a pound, and it is easy enough to waterproof them. I started by soldering on wires onto each leg of the sensor, then wrapping these with an individual layer of heat shrink, and then a further layer of heat shrink to wrap the three legs together. Then I coated the entire sensor in epoxy resin, just to ensure that any gaps between the heat shrink are totally covered. This may be overkill, but I am going to bury this thing underground where it is likely to get saturated with water - I don’t want to take the risk of the sensor shorting out and packing up.

Holding temperature sensors in place with croccodile clips ready for casting in plaster of Paris.
Having totally waterproofed four sensors, I then positioned these on the sensor in such a way that they would not interfere with the shortest distance between the two electrodes, and then cast the rest of the sensor around them, thus embedding them in the gypsum.
Initial data
So that was yesterday. One of the nice things about making soil moisture sensors is that you can start to take readings off them right away in order to judge when the gypsum is completely dry. I’ve also started to take readings off one of the temperature sensors. This could be interesting, as the hardening of gypsum is an exothermic reaction.
So what can my first 40 hours on these sensors say? We first of all, I know that the first gypsum sensor I cast had reached some sort of equilibrium resistance when I started sensing, and has now been steady for the last 40 hours sitting next to a dehumidifier. The other two sensors show much lower resistance, until about 12 hours in, when I decided to sit them next to the dehumidifier. After that, resistance increased as the sensors began to dry out, and climbed steadily towards the resistance of the dry sensor, reaching it around 21 hours in.

The first 40 hours of data, showing two freshly cast sensors slowly drying out over 20 hours to reach an equilibrium resistance.
Looking at the temperature story: temp0 is the sensor within a gypsum block, whilst temp1 is sitting next to it in the open. First off, it’s pretty warm next to that dehumidifier, and you can see the spike when I turned it on at around 10 hours in. What’s interesting is that the temperature in the internal temperature sensor remained pretty stable at around $21^{\circ}$C until around hour 17. Nothing special happened at that point, but the temperature shot up by about $7^{\circ}$C, and it is now sitting pretty close to the external temperature. Perhaps it reached some threshold where the evaporative cooling no longer held sway. Note that the embedded sensor was a little closer to the dehumidifier outlet, and so stayed a bit warmer than the external sensor after around 20 hours, but when I decided to switch the thing off at around 30 hours, both sensors drop off pretty rapidly to a fair constant $25^{\circ}$C - yes a hot room!.
At any rate, what I can say is: it’s working! Once I get all the sensors dried to an equilibrium, I’ll start to do some trials in soil.
Costs
I’ve had a go at totaling up the costs of an individual sensor. I haven’t tried too hard to account for consumables like wire, and resin, but the cost of these is pretty negligible. With the two ds18b20 temperature sensors that I have installed in my prototype sensors the cost is roughly £3.54 each. If you only used one temperature sensor (perfectly reasonable) the costs would be £2.44 each, and with no temperature sensors, £1.34 each.
| Item | Source | Quantity | Price | Unit Price |
|---|---|---|---|---|
| Hair curlers | Amazon | 6 | £1.99 | £0.33 |
| Plaster of Paris | Amazon | 1 | £4.901 | £0.33 |
| Studding2 | Amazon | 13 | £1.69 | £0.13 |
| Nuts | Amazon | 83 | £1.44 | £0.18 |
| Washers | Amazon | 83 | £1.90 | £0.24 |
| DS18B20 | Amazon | 10 | £11.00 | £2.20 |
| 3D printing4 | Colleague | 6 | £0.42 | £0.14 |
| Total | £3.54 |
Additional requriements
There are also a number of other costs which I haven’t tried too hard to quantify:
- Heat shrink - you could buy a pack like this for £4.98, and never need to buy more!
- Epoxy resin - this is necessary for waterproofing temperature sensors. I used some WEST system resin and hardener I had left over from building canoe paddles (yes…another story), but you could use some other proprietary equivalent in smaller quantities.
- Wire - you will need some wire. I used solid core for most things, but much of this I got from off cuts I found discarded on the pavement near where a telephone engineer had been working.
- Arduino - I have an official arduino uno from Italy, but I also have started to use cheaper Chinese reproductions. You can’t argue with £3.16.
- SD card logger - I actually bought one from Adafruit which is great, but you can also find cheaper Chinese alternatives if your budget prefers.
- Realtime clock - the arduino doesn’t know what time it is, so you will need one of these. Again I have used a Chinese reproduction.
So on the whole, I would say that you can set up a series of soil moisture sensors, and the necessary arduino hardware to monitor it for under £20, and I’m sure there is scope to reduce these costs further. It is not necessary for example, to include temperature sensors as I have done, but they should make it easier at a later date for correcting for the temperature dependence of the soil moisture readings: plus they give you an extra data stream of soil temperature, which might be of interest in its own right. This is of course, assuming that they will work in the soil, I’ll test them out in a later post.
-
I’m conservatively guessing that I can get about 15 gypsum blocks out of this 1 kg tub. ↩
-
2 $\times$ 2 m lengths from which 13 sets of two 75 mm rods can be cut. ↩
-
I was lucky enough to get this printing done for free, but if you don’t have a friend to do this, you could get the parts 3d printed online. I looked at a couple of suppliers, and compared to the cost of printing with your own (or a friend’s printer) they were very expensive: in the region of £2-£3 for each component. ↩